Ready to purchase a Frame Bag but need to send me a pattern? Here's a step by step guide on how to do it and what to include on the pattern.
(VIDEO COMING SOON)
Tools You Will Need
A sheet of cardboard (this can be cereal boxes taped together or the side of a box. As long as it's big enough to cover your frame)
Scissors - Pencil or A Fine Tip Pen - Sticky Tape (masking tape is best)
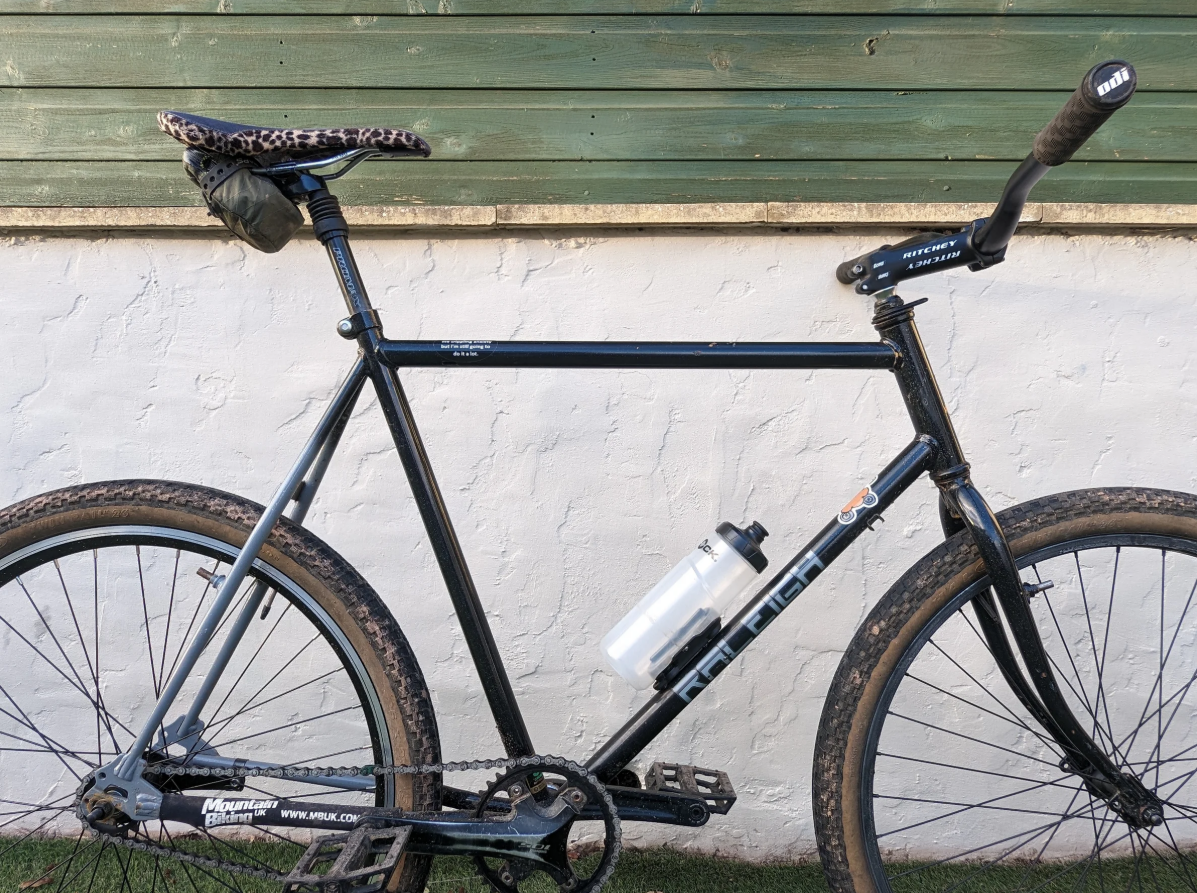
Step 1
Grab your bike and prop it up the wall. Or get a friendly stranger to hold it.
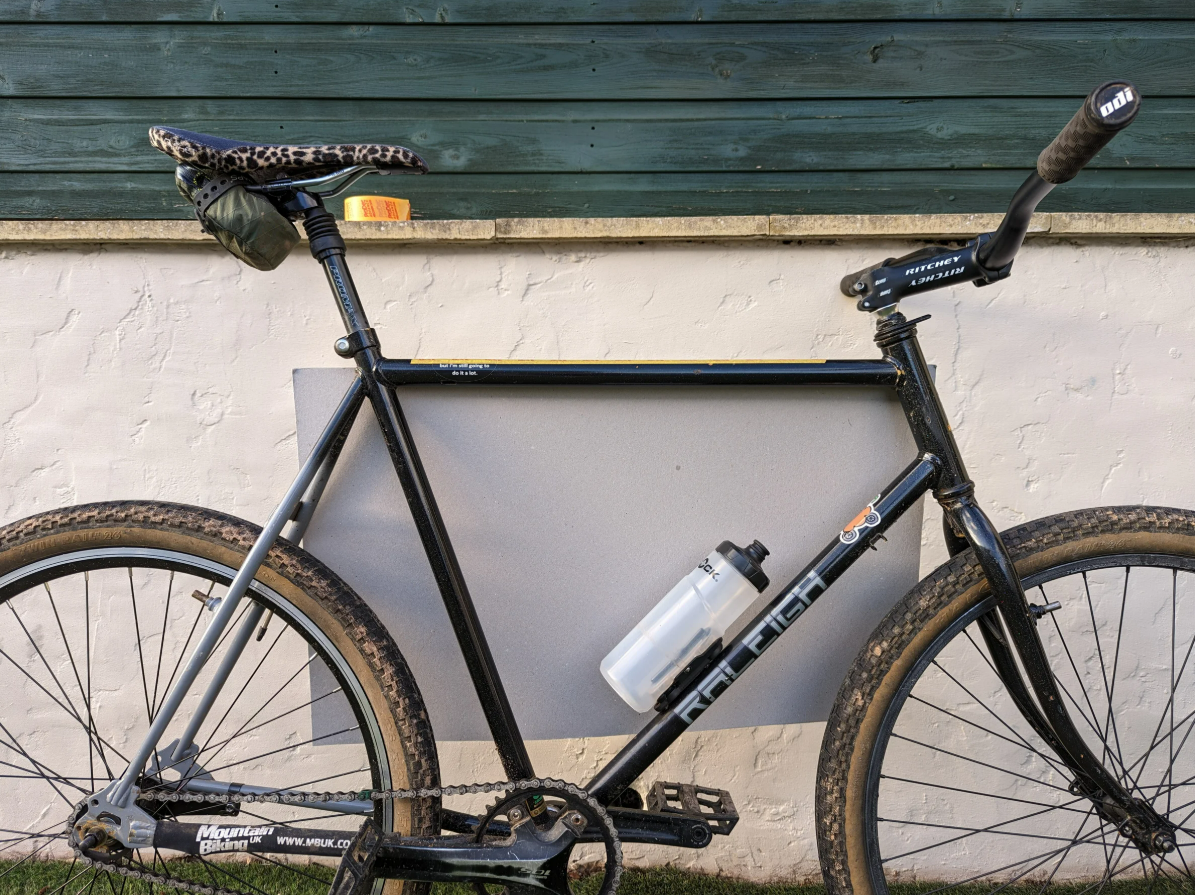
Step 2
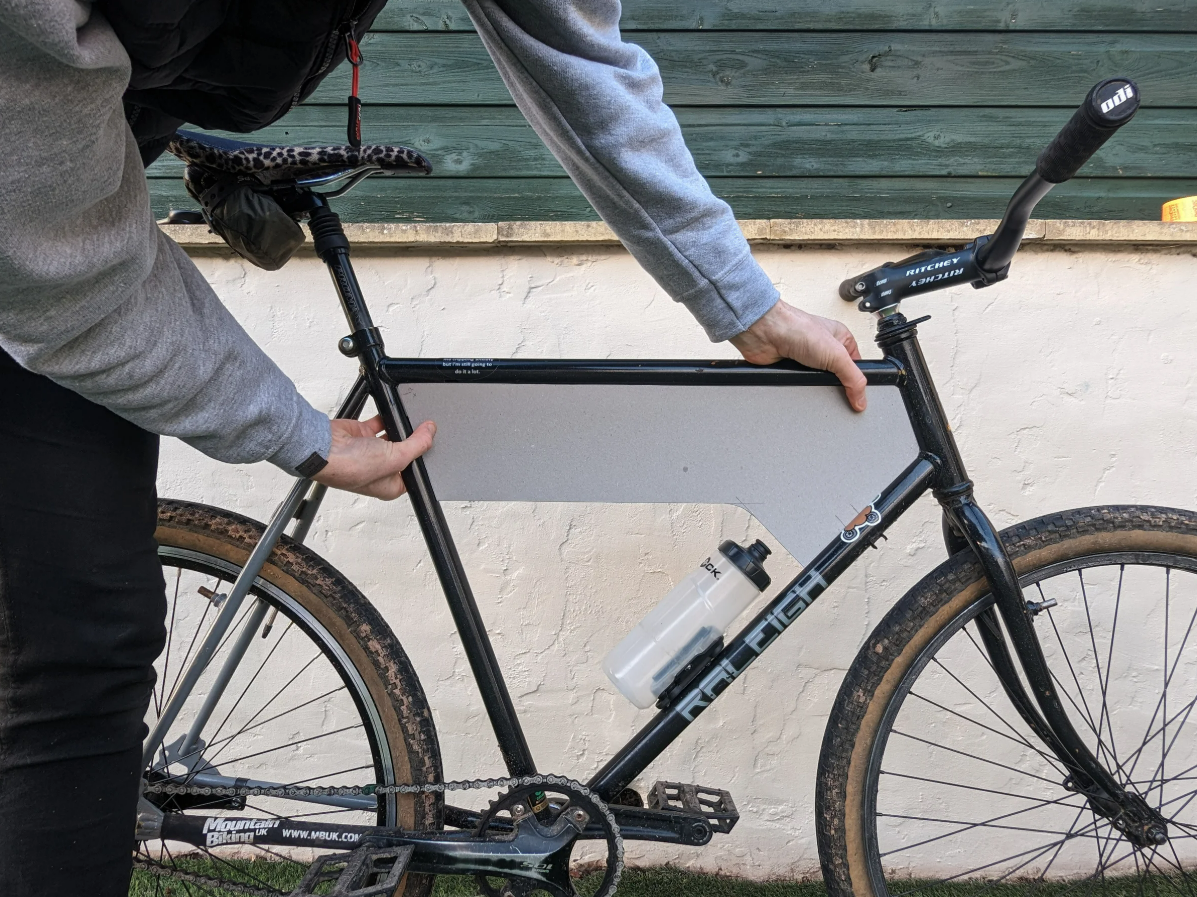
Grab your masking tape and tape the cardboard sheet to the top tube. Make sure the card covers the whole area that you want to pattern.
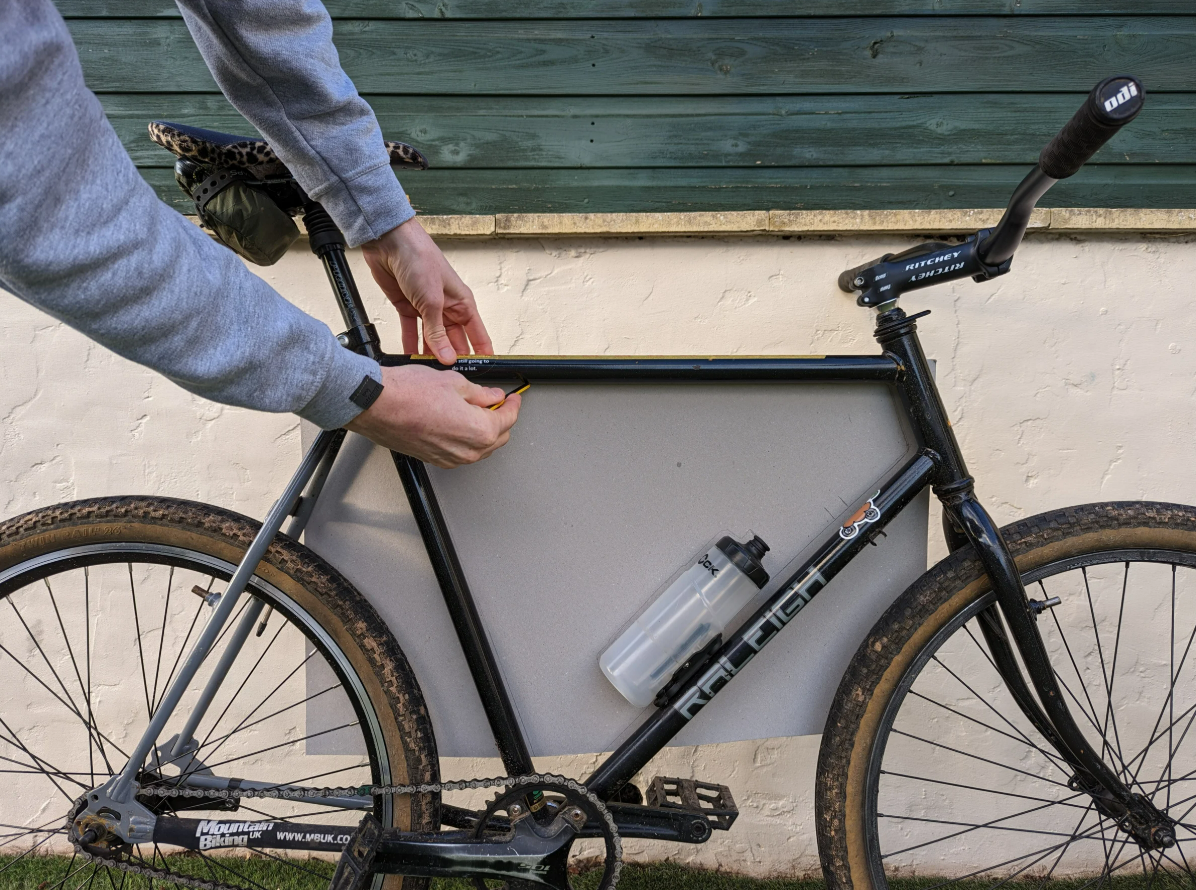
Step 3
With a Sharp pencil or a fine tip pen, draw around the inside of the tubes. Making sure you keep the angle of the pen the same all the way round.
Remember to mark Bottles, Cages and Bosses.
It's also handy to mark on anything that would get in the way of a strap eg; Downtube shifters or Bosses, Cable stops and ports.
I also always mark on, where the seat stays intersect the seat tube, again for strap placement.
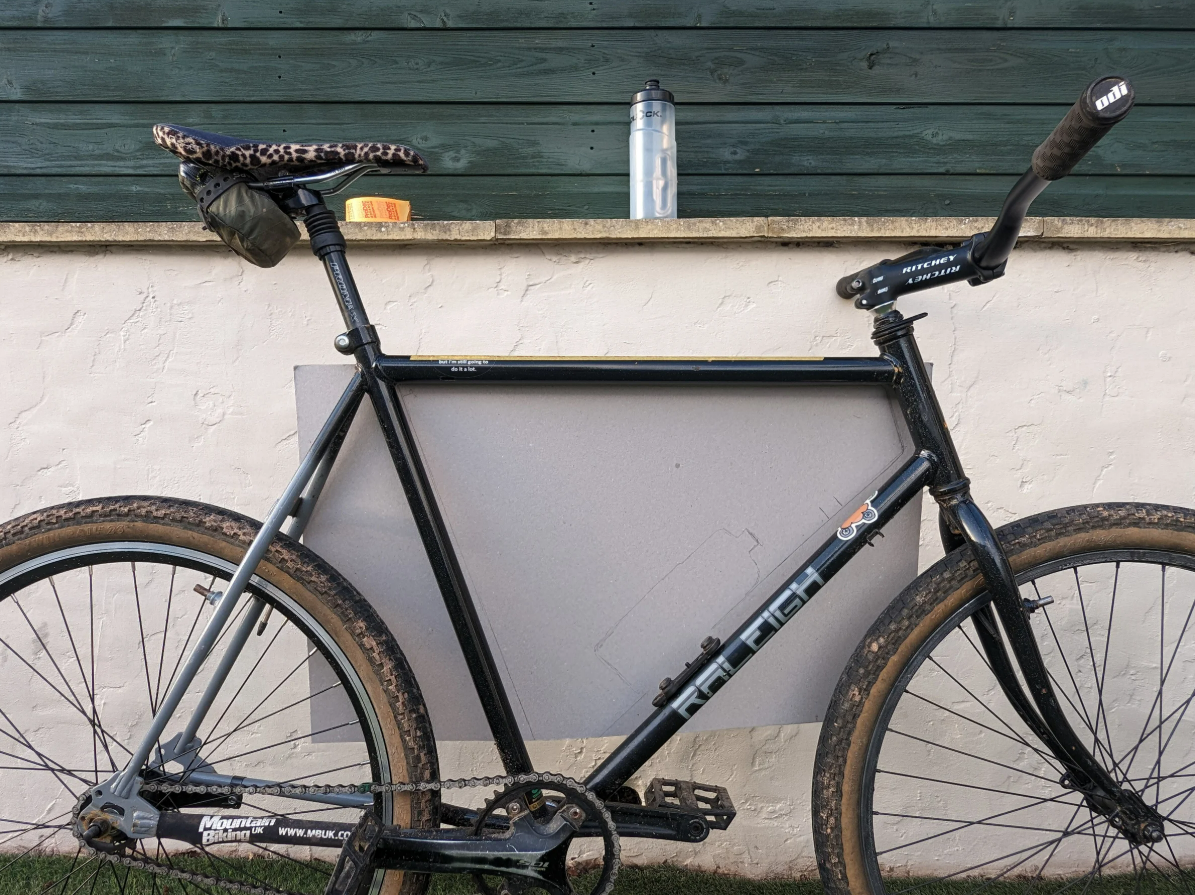
Step 4
With the bottle removed we can see the marks for it and the two marks for the old cable stop (placing a X in between two marks, helps me to see where not to place straps).
Take this time just to double check your marks.
!! Important; Take a photo of your frame with the template in place. Including any bottles and cages !!
You can then remove the pattern from the bike.
Step 5
Use your scissors (or get an adult to do it for you) and cut along the lines you've just made.
Offer the cut piece up to the bike, it should fit snug in the frame with no gaps and should lay flat. Trim to size if necessary.
If you know the depth and shape of the bag, you can cut it to size now to get an idea of how it will look.
(Remember, when cutting to size, leave enough room to remove bottles from the bike. Around 1/2 an inch from bottle to bag is usually the minimum I use. Fidlock or Side loading cages can help maximize space)
Final Steps
If you haven't decided on a shape or depth, you can leave the pattern as a full frame pattern and I can work it out for you.
If you're posting the pattern to me, you will need to transfer it onto some paper. This way you can fold it up smaller and pop it into an envelope.
Just make sure to transfer everything over onto the paper copy, the more detail the better.
You also need to include your details and order number, written clearly on the pattern.
!! Important; please email me the photo of your frame with the pattern that you took in step 4 !!
The default minimum width for frame bags is 2" / 50mm.
Address for sending patterns to is;
Collins Cycle Works
Unit G, Maylite Business Centre
Berrow Green Rd.
Martley
Worcestershire
WR6 6PQ
Once I receive your template at the workshop and I deem it good to go, I will contact you via email just to double check your designs and fabrics. Once both parties are happy to proceed your bag will go into production.
(Please be aware that the current lead time runs from when the pattern/design is okayed by both myself and yourself)
Then just sit back and relax. And await your custom frame bag.
Side Note; If patterning your frame seems too much, or you are unable to do so, I'm happy to arrange a date and time to do it at my workshop for you.
You can also drop your card template off to me if you live local.
Patch.
